What follows are the steps I use to make an Active Directory user account a local administrator in Windows 10.
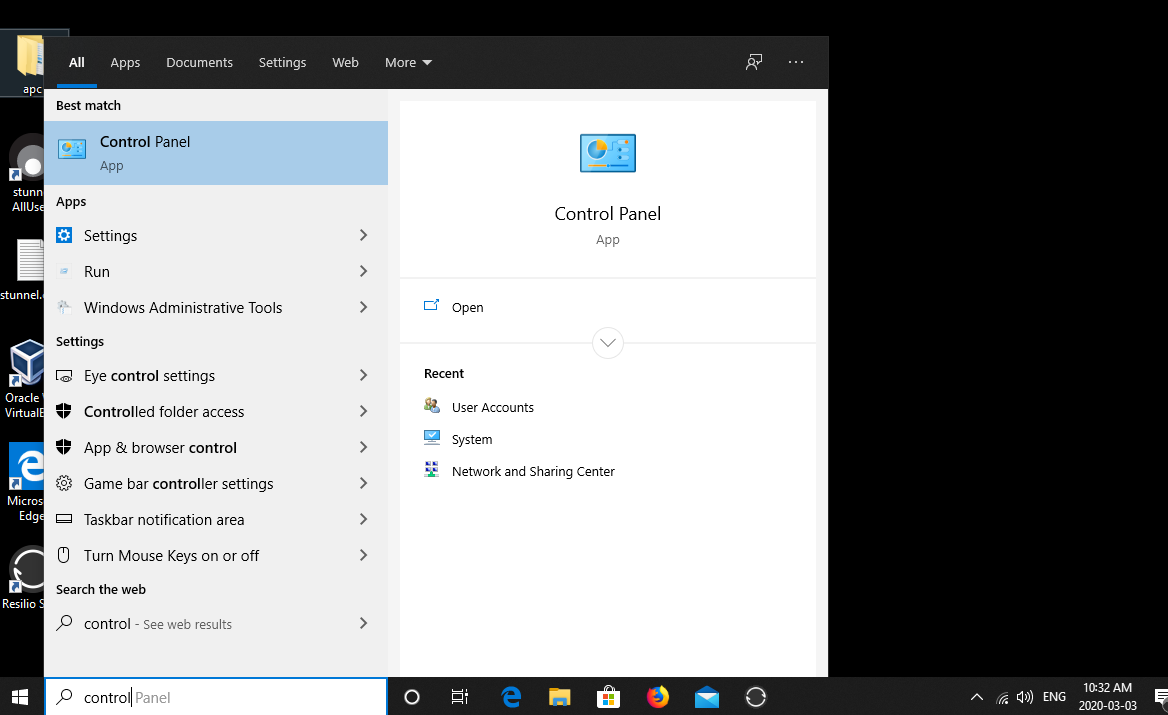
- The first step is to open the control panel. You can search for the app by typing “control panel” in the bottom left search bar.
- Click on the option called “User Accounts”

- In the next screen click on the link titled “Give other users access to this computer”

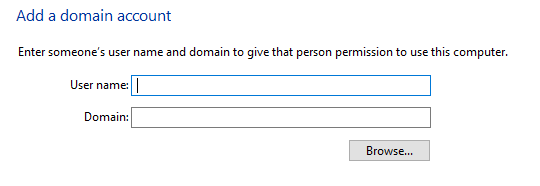
- In the pop-up that appears click on the button titled “Add…”

- Click the button titled “Browse…”
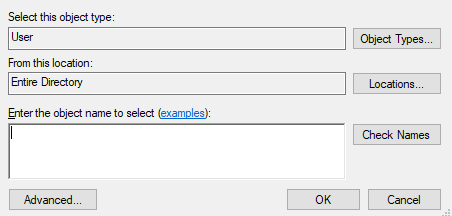
- On the select user screen click on the button titled “Locations…”
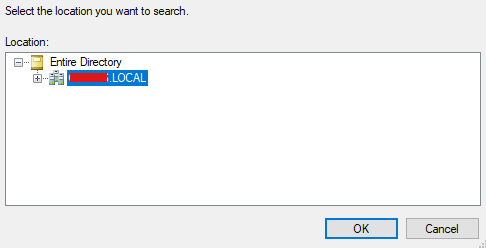
- Expand the tree and select your Active Directory domain. Then click “OK”
- You will now be back on the “select user” screen. Click the button titled “Advanced…”
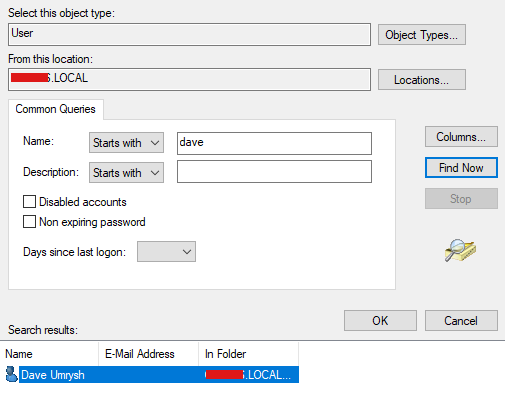
- Type the beginning of the name of the user account in the “Name” field and then click the button titled “Find Now”. If successful you should see a list of matching user accounts in the “Search results” section. Click on the one you want and then click on the “OK” button
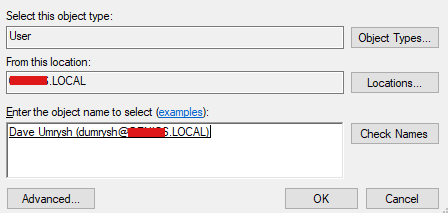
- You will now be back on the “select user” screen, click the “OK” button
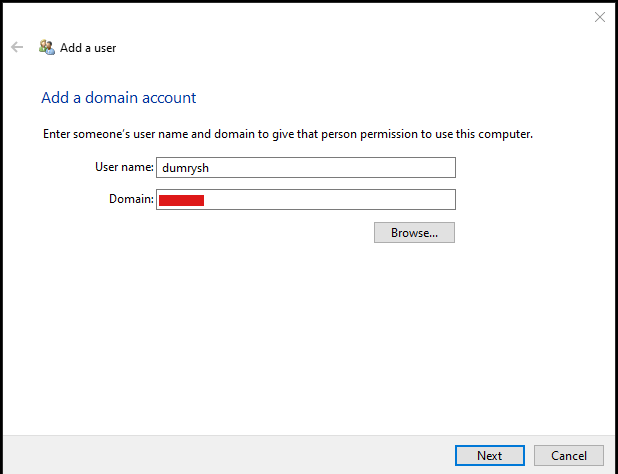
- You will now be back at the original add user pop-up but the information will be filled in. Click the button titled “Next”
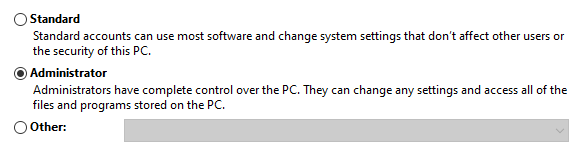
- Select “Administrator” from the list and click “Next”
- Click “Finish” on this last screen and you should be good to go.
The next time the user logs in they will have administrator rights to the computer